What Happens at Mike Meyer’s Workshops?
The alphabets and lettering effects that you'll learn on a four-day Mike Meyer sign painting workshop.
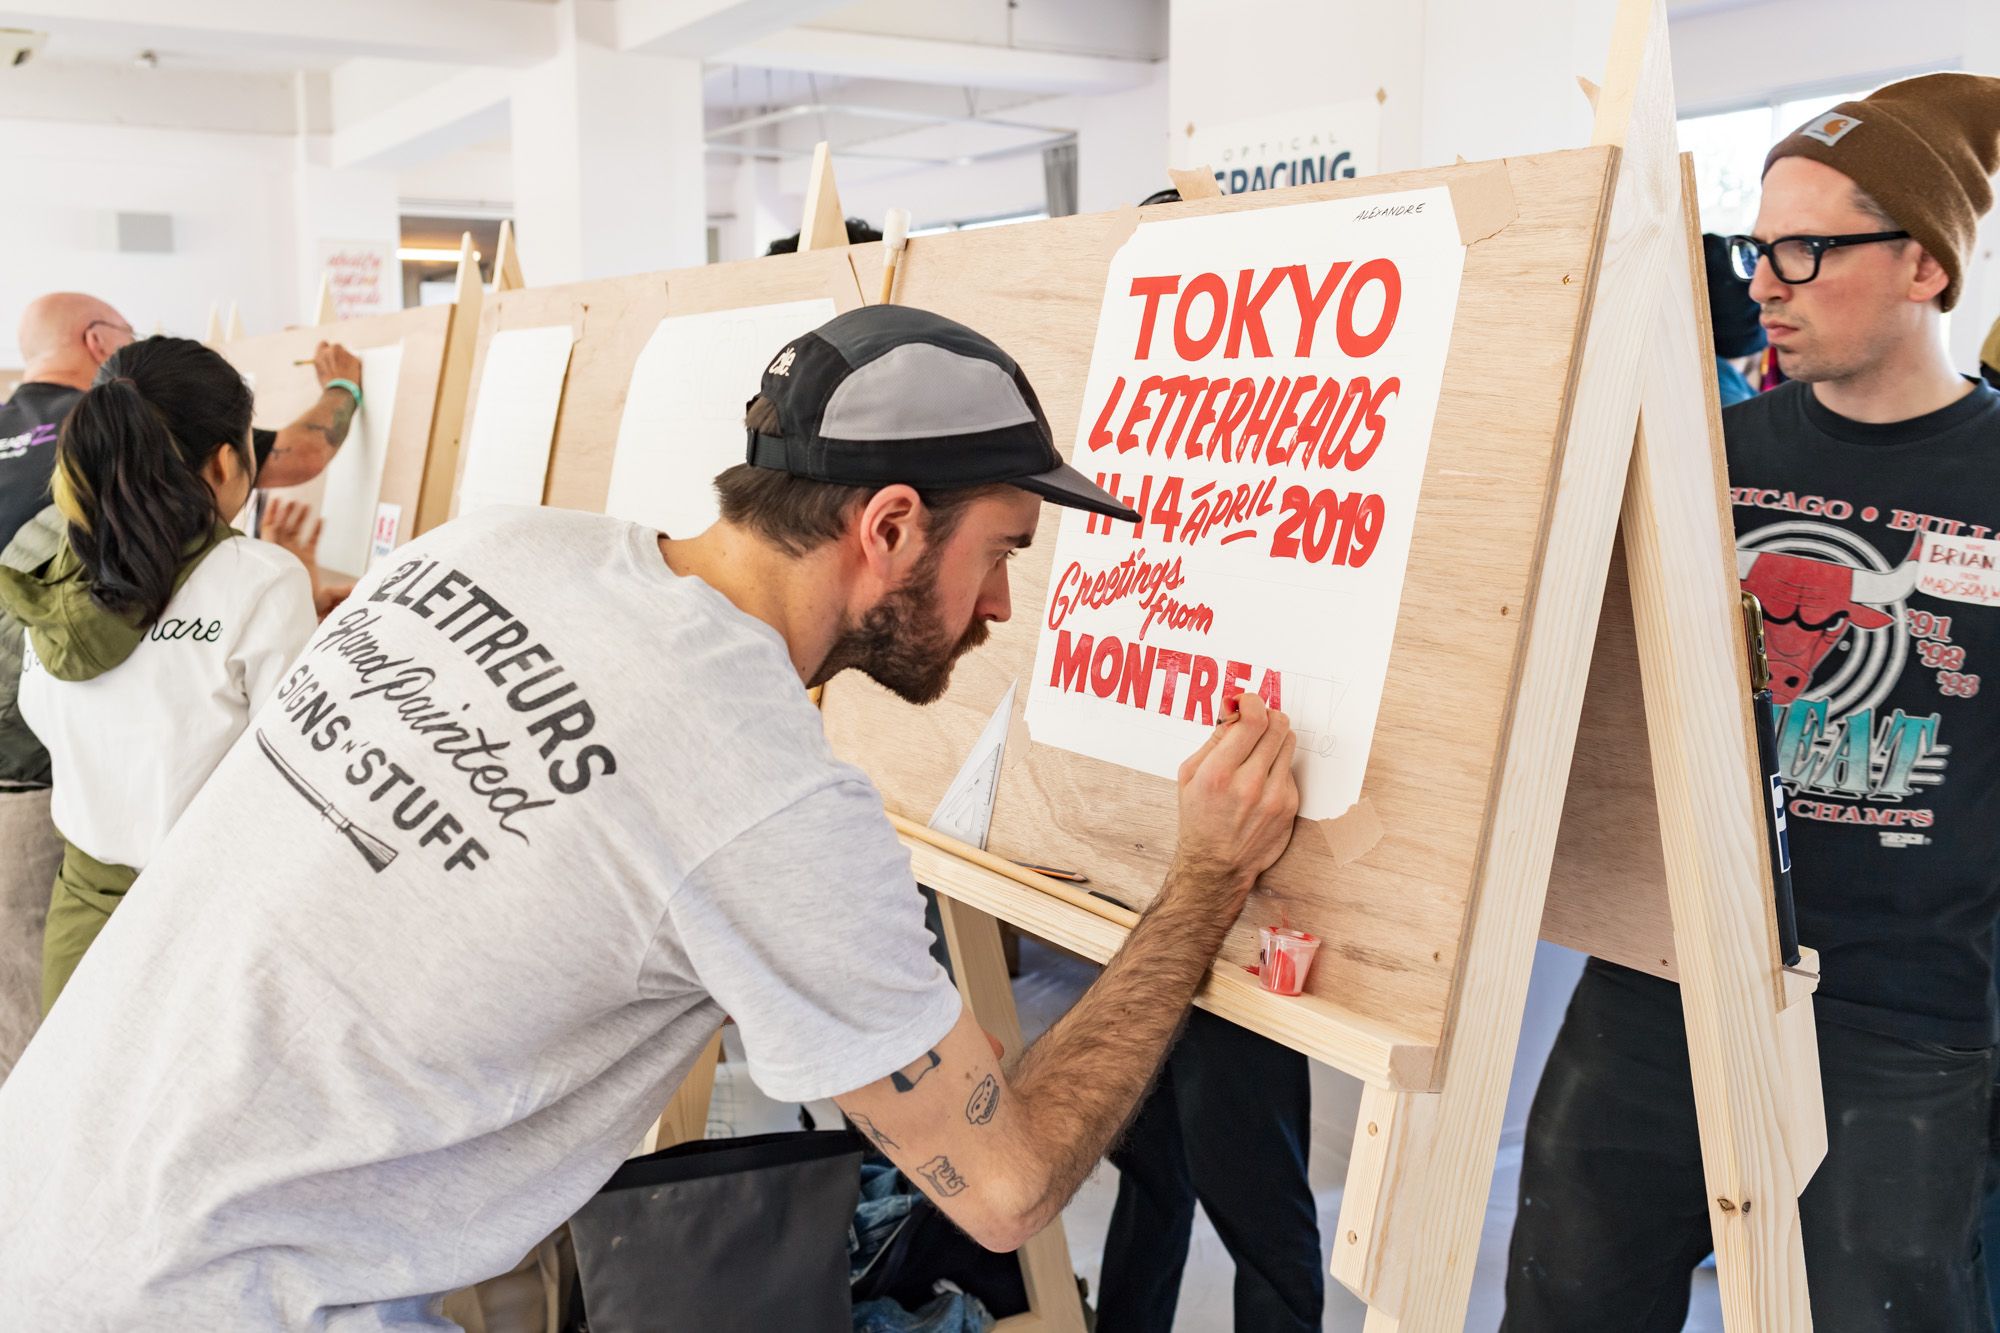
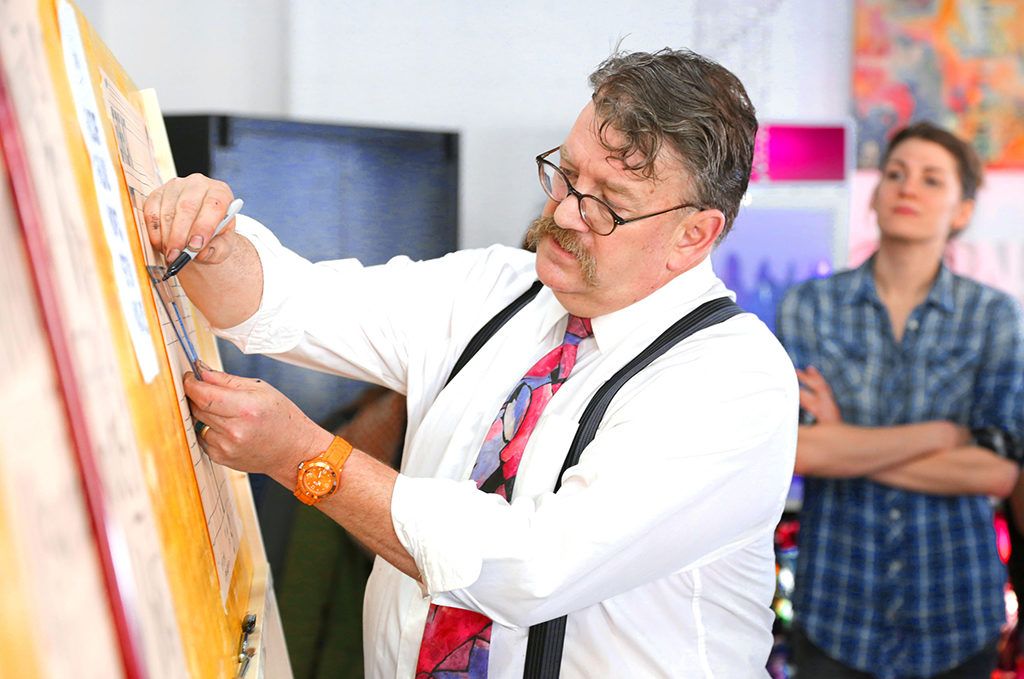
For the last four years Mike Meyer has been travelling the world delivering his renowned hand lettering workshops. In that time, he’s inspired people in dozens of cities, as well as hosting groups at his own shop in Mazeppa. We thought it would be useful to share a behind-the-scenes look at what goes on across (typically) four days of paint, brushes, lettering and laughs with the globe-trotting man himself.
“A wonderful set up and nothing but love and support from Mike” — Sign Painter, USA
Those that attend Mike’s classes are usually complete beginners, and he works to find what level they’re at, before pushing them beyond that to make progress across the (typically) four days. Participants come from a variety of backgrounds, with most being involved with the graphic arts, either as designers, graffiti artists, calligraphers or digital specialists.
While everyone’s motivations differ, we’re very clear that the workshop is an introductory class. To advance within the trade will require many hours and years of further study and practise. The workshop will get you started, and provide you with enough to go away and continue your studies alone.
“I’m feeling creatively re-invigorated! Art Director” — USA
Day 1
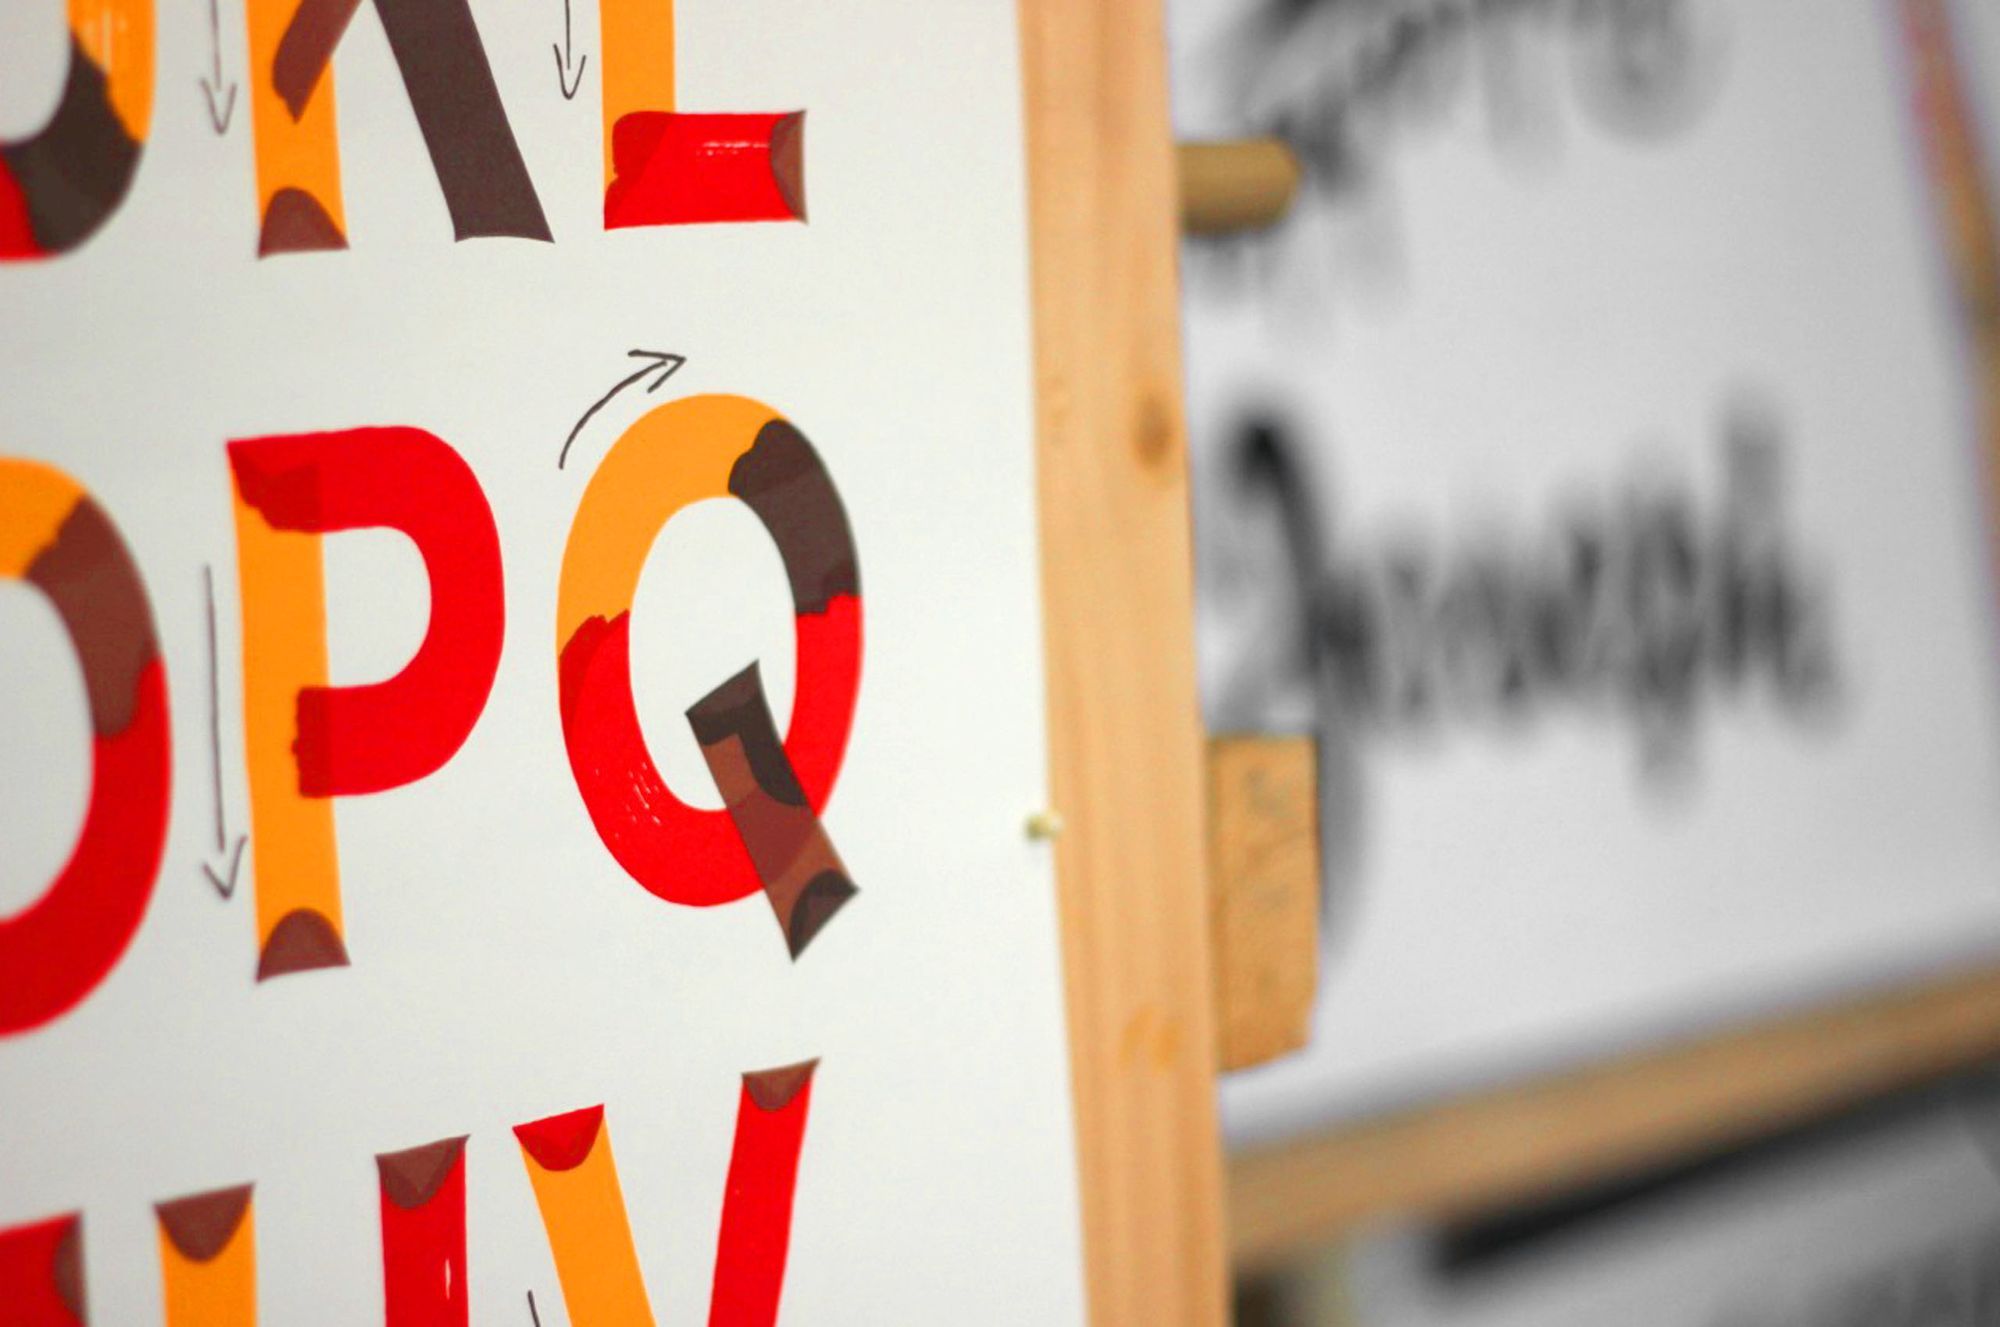
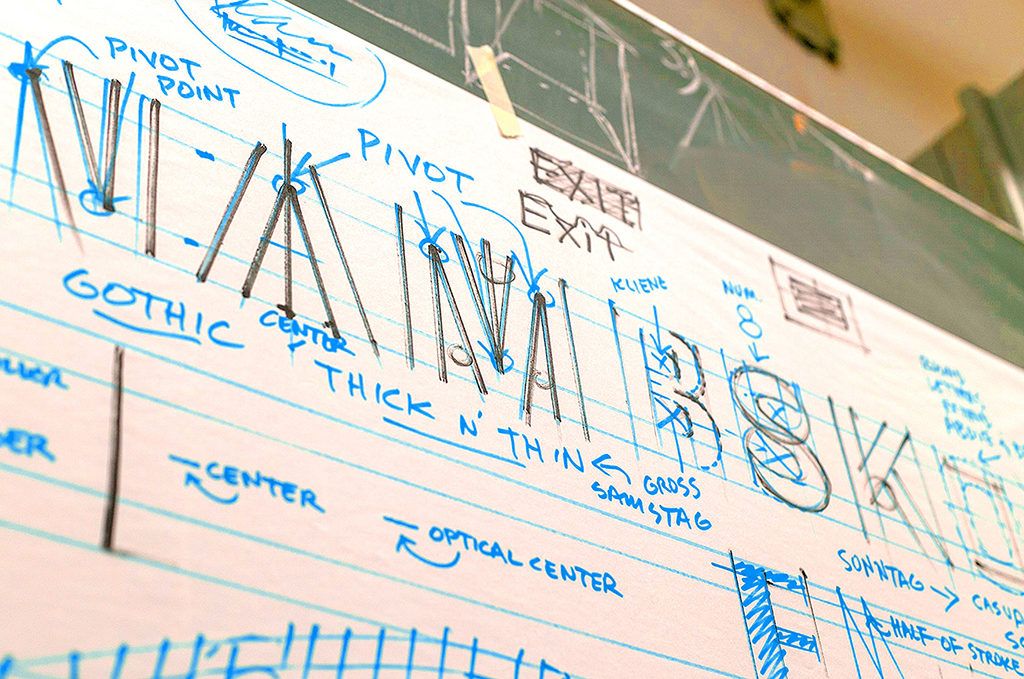
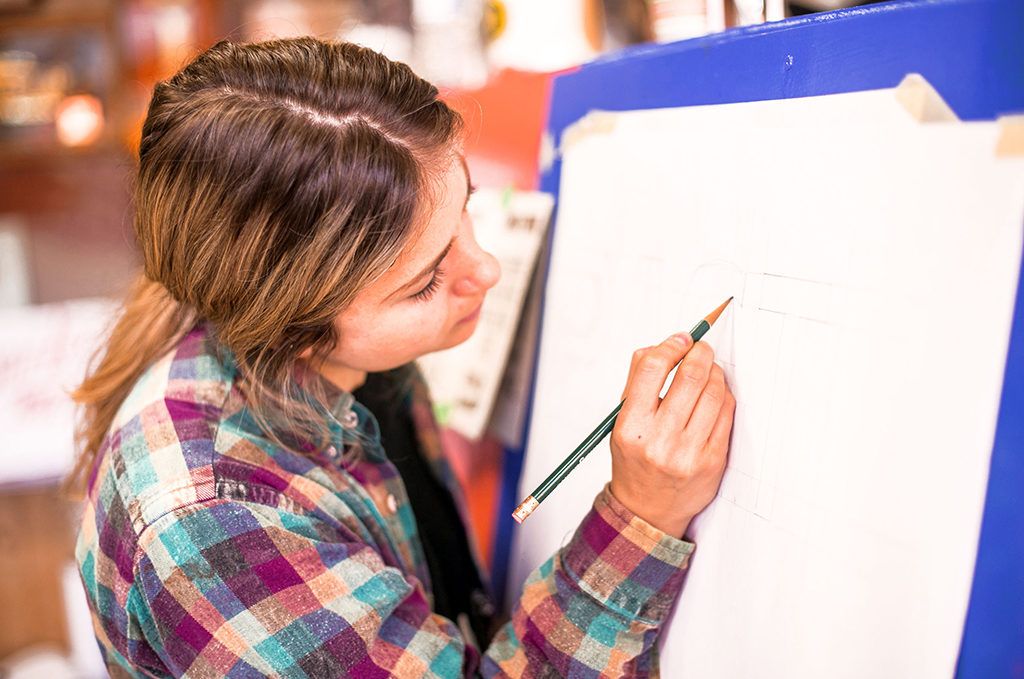
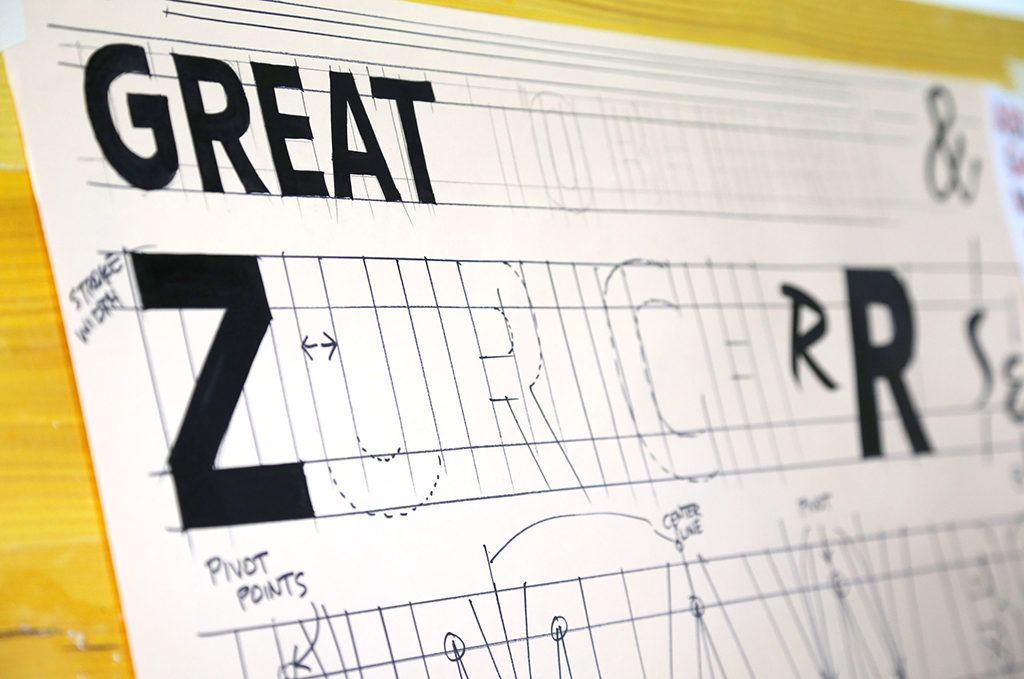
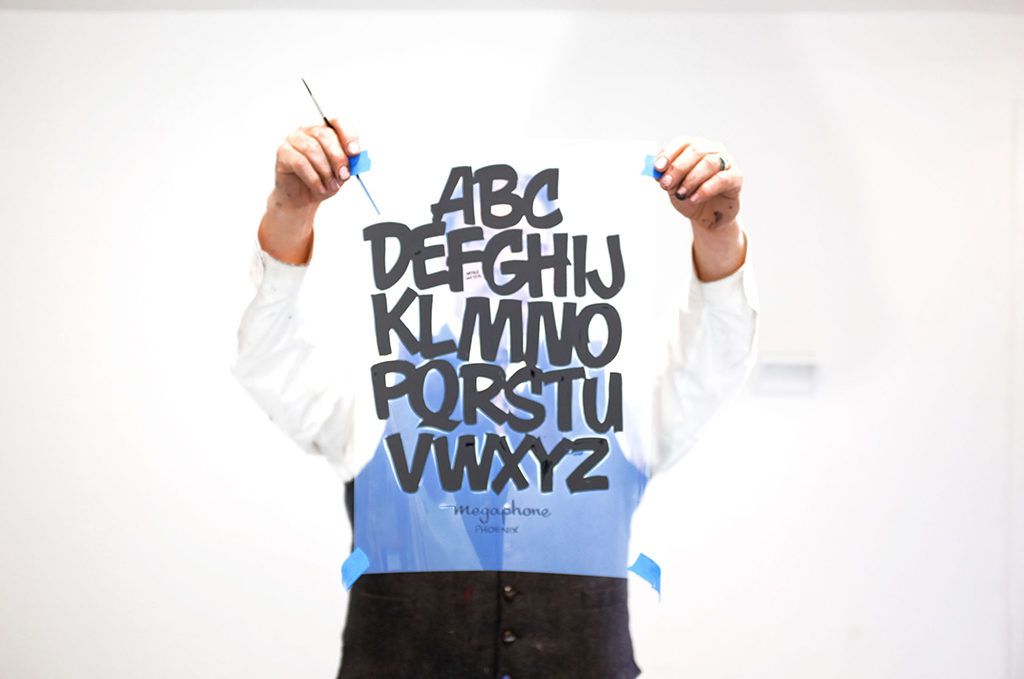
After some introductions and a little background on Mike’s life and work, the first morning is spent working with pencils and set squares (‘clear angles’ in Mike’s words) to draw a simple block (or gothic) alphabet. The aim of this is to get familiar with the basic letter shapes, and learn how to draw them without the need for excessive measuring. To support this work, all participants receive Mike’s alphabet booklet which provides a visual reference for all the material covered in the workshop.
“I’ve definitely seen improvement in the way that I think about lettering” — Graphic Designer, USA
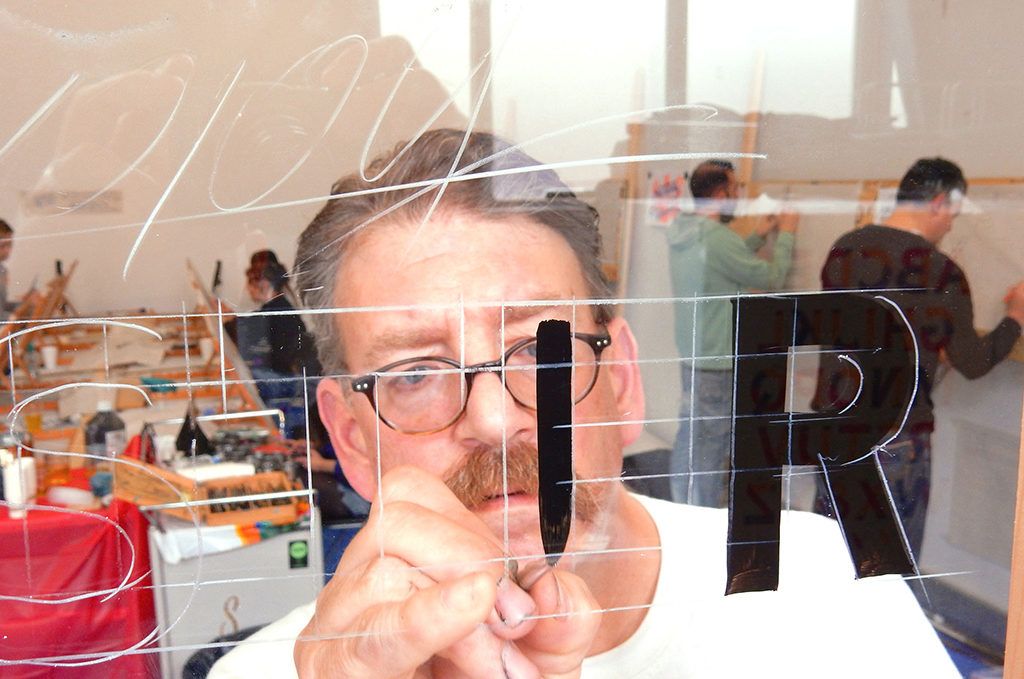
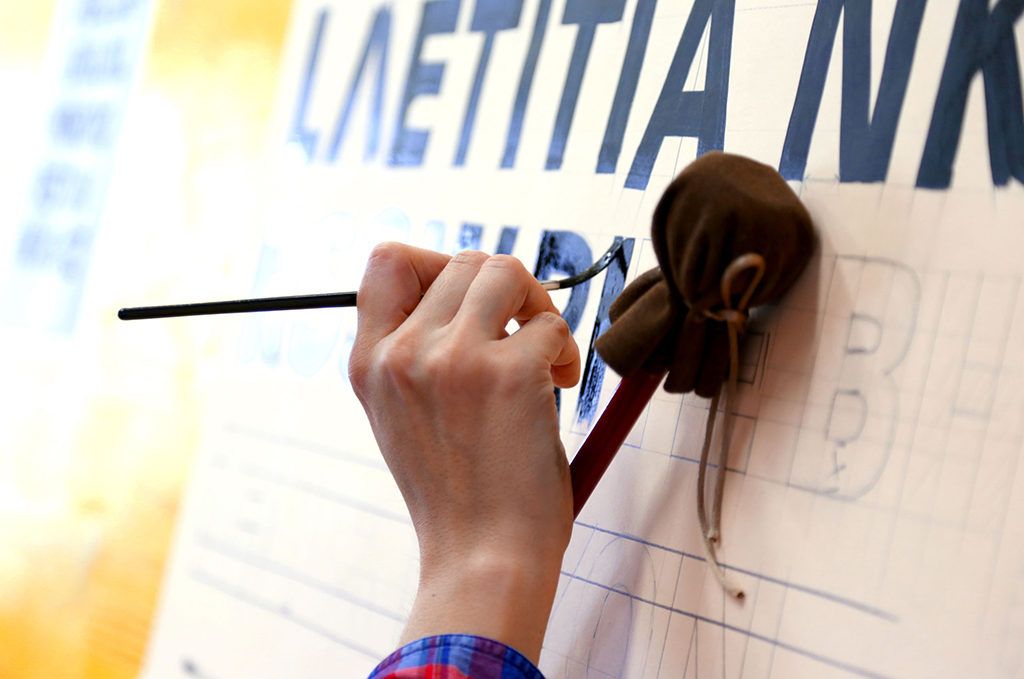
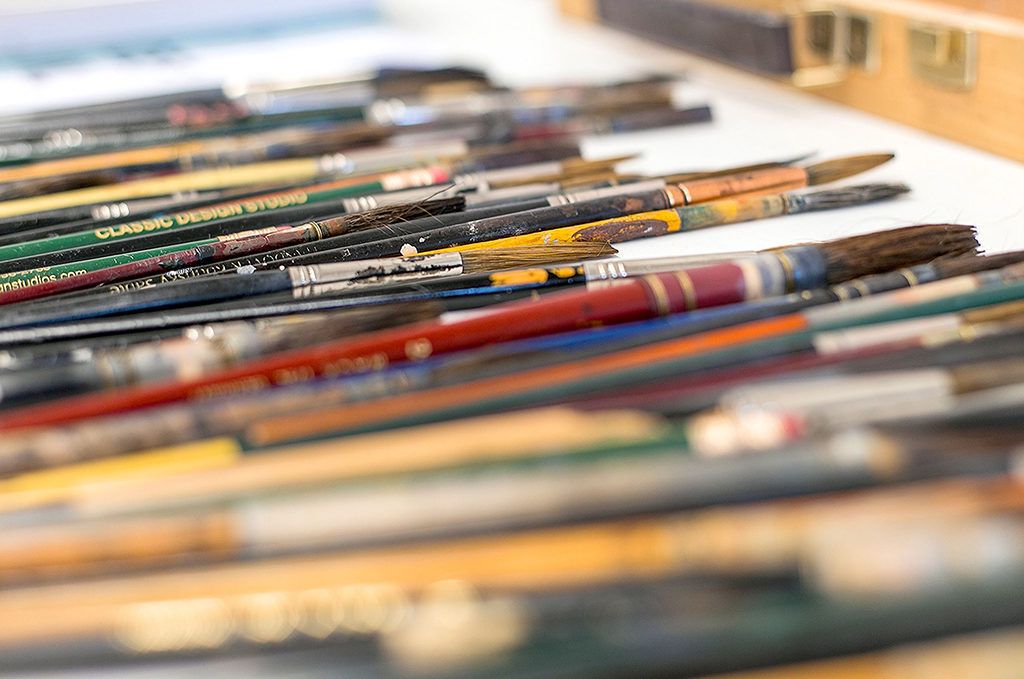
After a short lunch break Mike brings everyone back together to introduce working with the specialist paint and brushes used for sign painting. These are oil-based paints, typically poster colours for faster drying and working on paper. The brushes used are typically Handover 2112, Mack 169, and of course Mike’s signature series, mainly working with size 6. Other brushes and sizes are made available to that everyone can experiment and find which they prefer.
The objective of the first afternoon is to get everyone familiar with manipulating the brush by painting in the letters that were laid out in the morning. Working with the block alphabet introduces the discipline of painting straight lines, corners and curves. Everyone will try using a mahl stick and other techniques to steady the hand so that they can find how they are most comfortable working.
“The first day I had never lettered with a brush before and on day four I’m getting sharp corners and it feels natural” — Lettering Artist, USA
As well as working with brushes, it’s also important to care for them as they are the most important tool in the sign painters box. Across the afternoon everyone learns how to prepare, clean and store them to ensure long and productive lives. Mike will also discuss the main products, and alternatives, involved in brush care.

“I’ve learned more during these two days than the last two years practising almost every night” — Screenprinter, Switzerland
Day 2
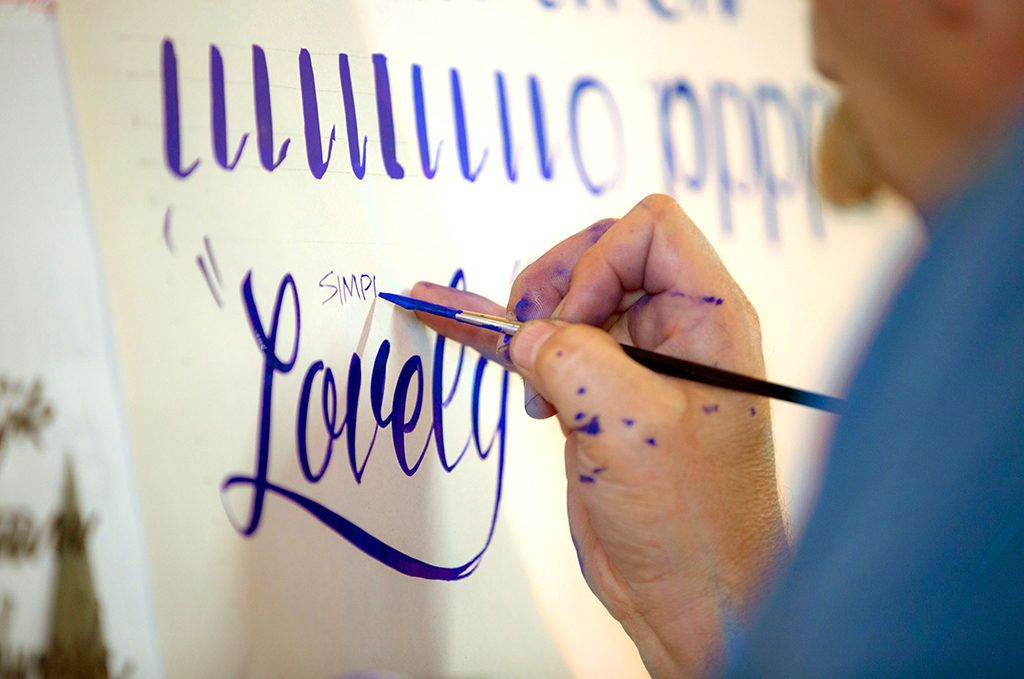
The second day of the workshop is focused on two more alphabets. These are casual (otherwise known as flash, slash and slap-dash) in the morning and a simple script in the afternoon. These are much looser than the block alphabet of the previous day, working with single strokes and with less setting out required before getting on the brush.
“Hands-on learning is something that you can’t get from watching YouTube” — IT Site Admin, USA
Day 3
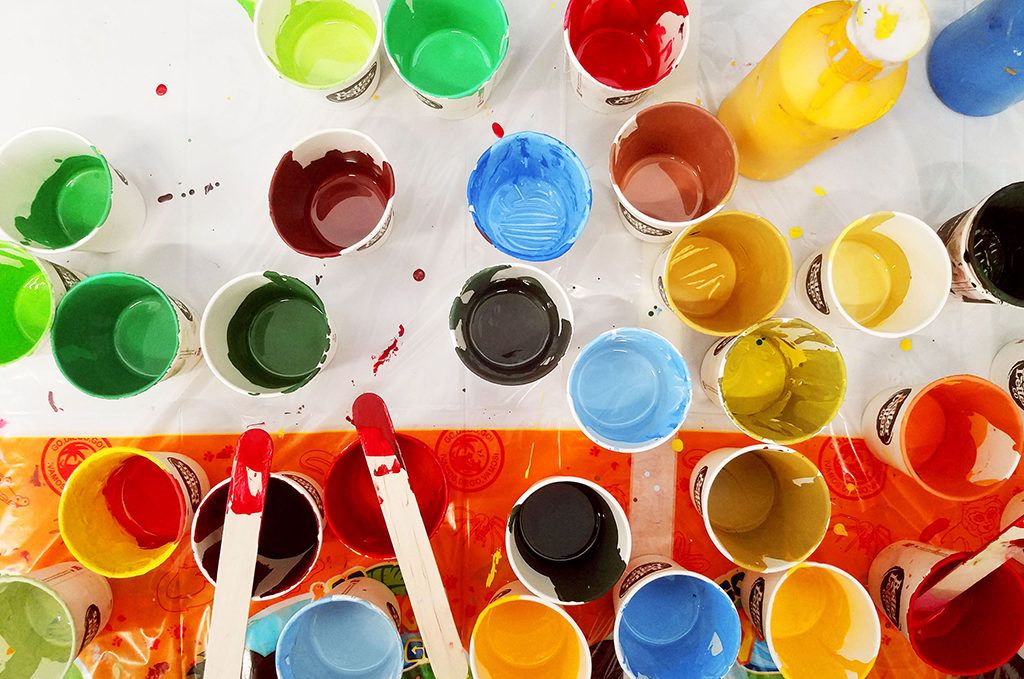
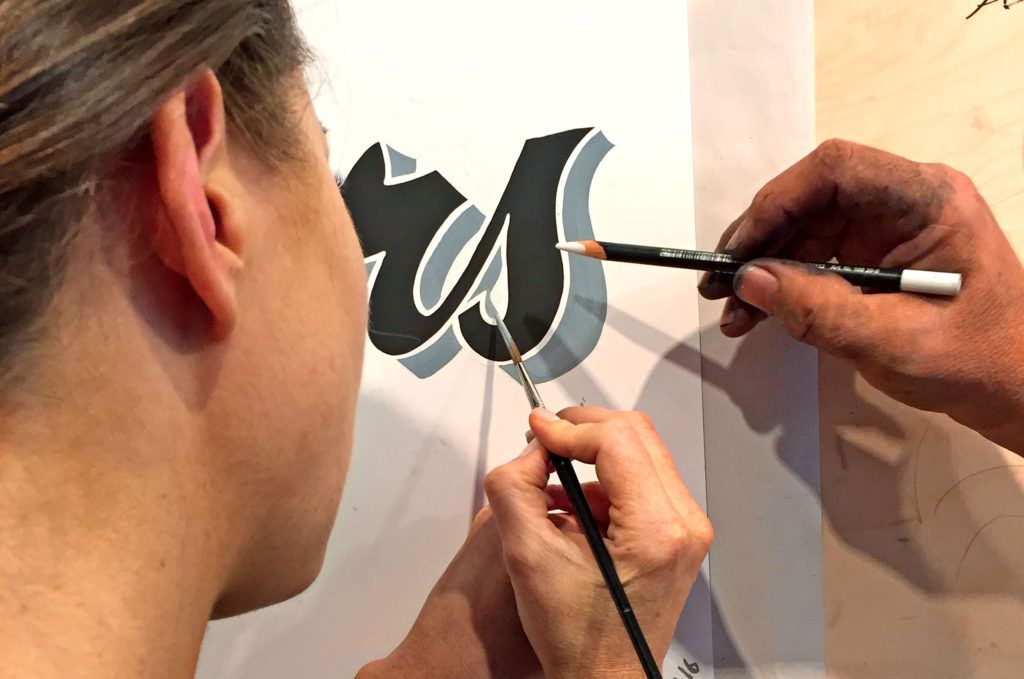
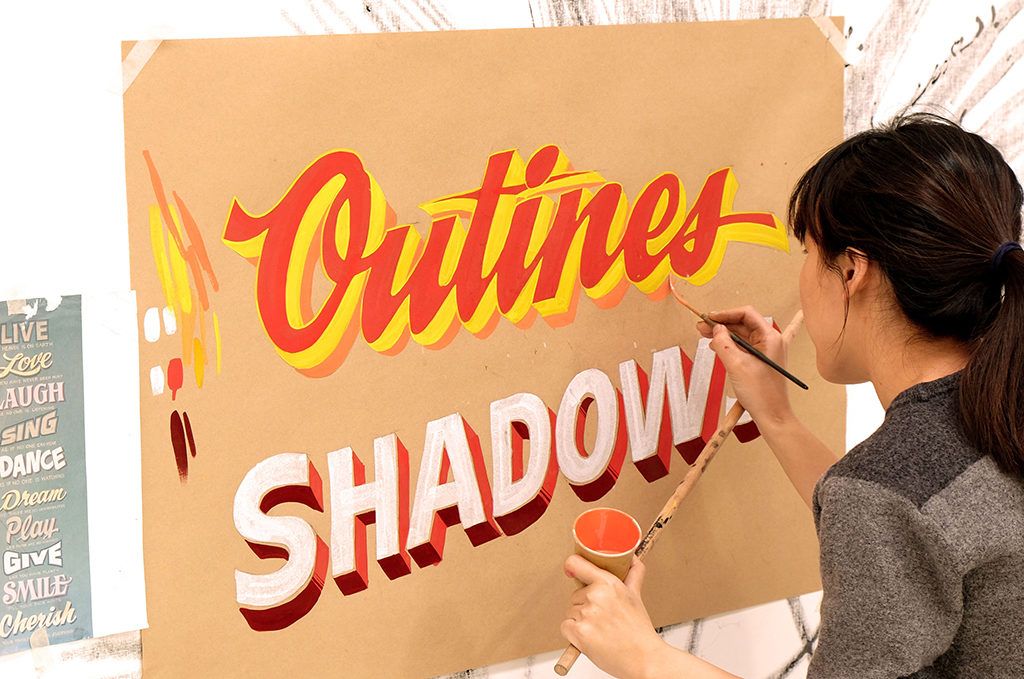
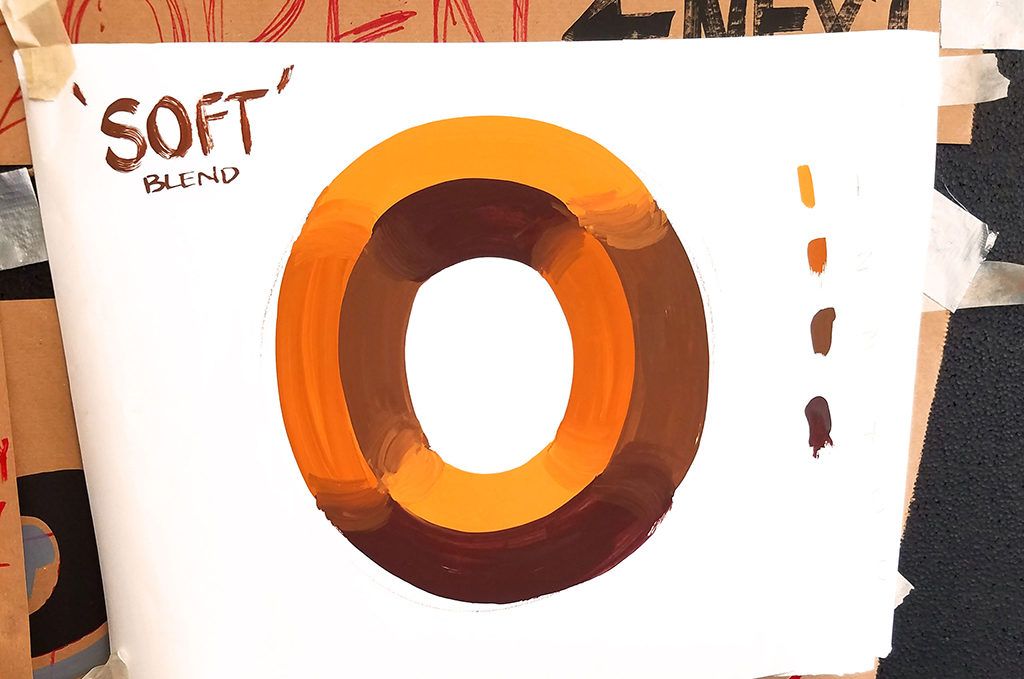
The workshop now moves into the Lettering Effects stage which is all about introducing simple techniques that can be used to increase the visual impact of lettering. This starts out with basic shadows (block and cast) allowing everyone to experiment with these, and especially how they work on diagonals and curves. After that, outlines are introduced. Throughout this stage participants will start working with colour, and using basic blends, while also being exposed to techniques such as pouncing for transferring designs and for shadows.
“I learned so much and met other awesome artists” — Web/App Designer, USA
Day 4
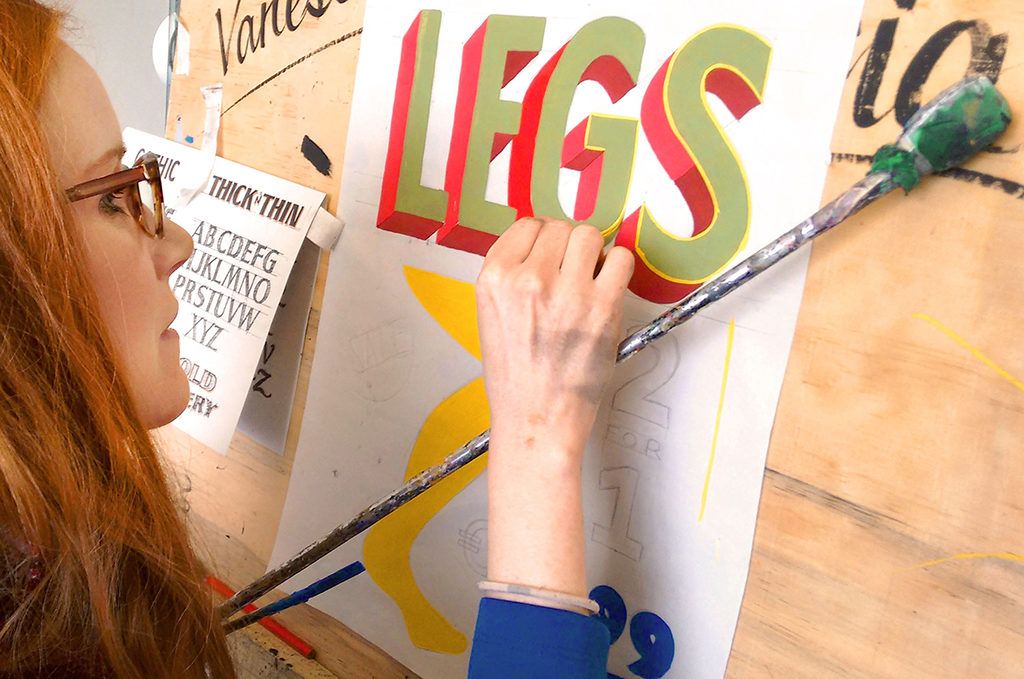
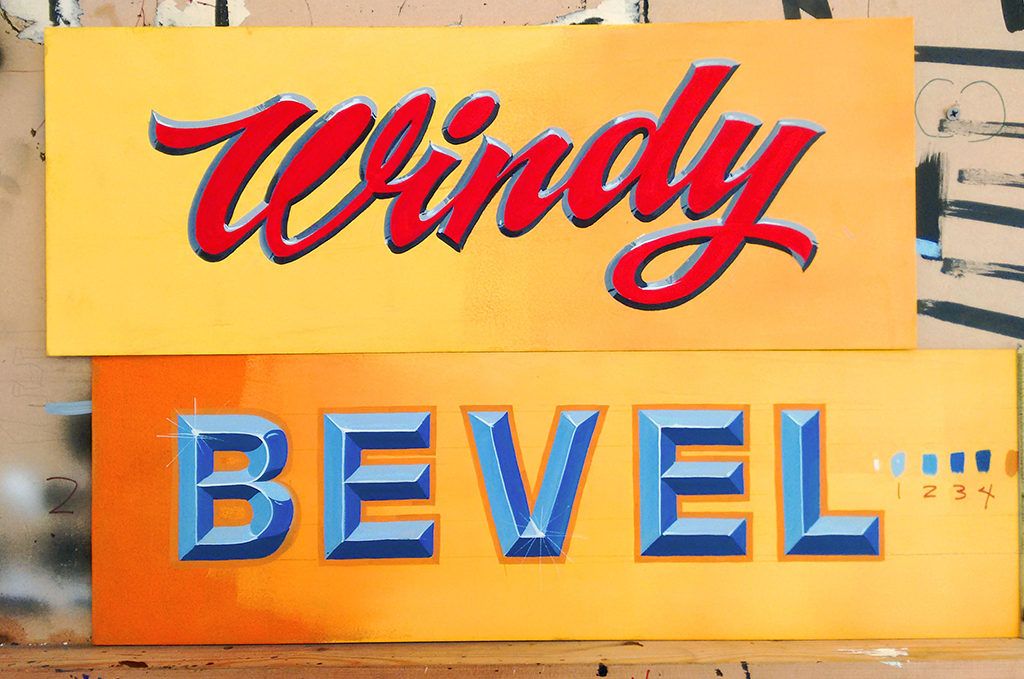
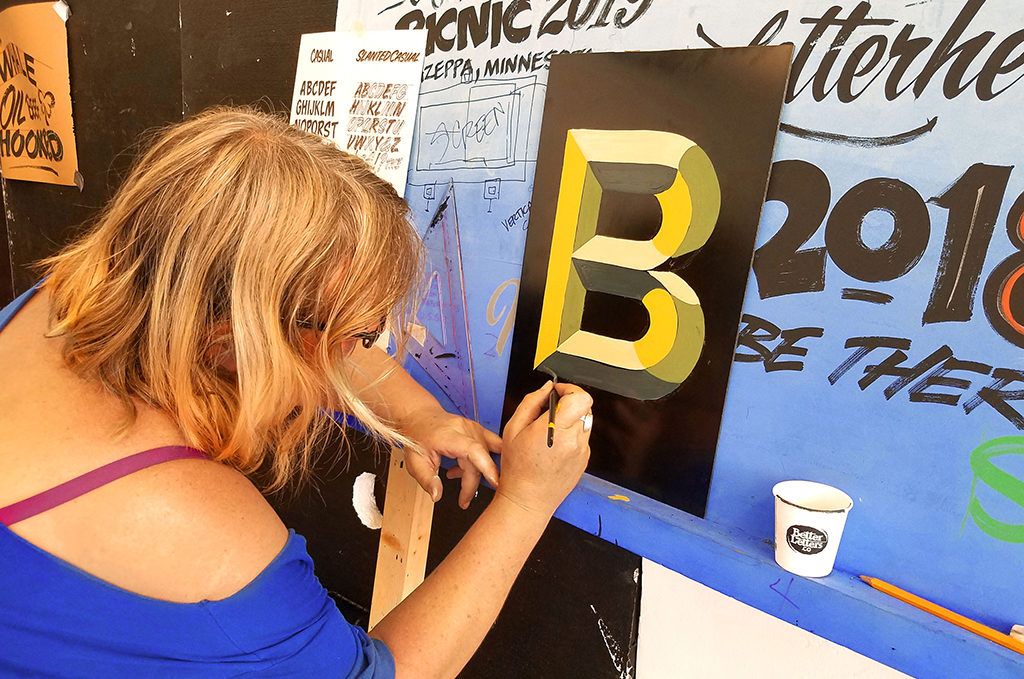
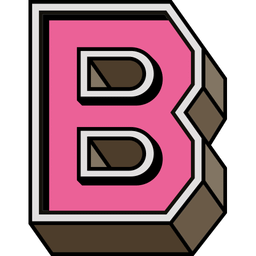
The last day of the workshop moves onto some more advanced lettering effects, using bevels (convex and concave) for both the body and outlines of letters. This work brings out lots of colour, everyone working with four shades to create the desired effect, using blends where required. On this last day there are also opportunities to combine the lettering styles and effects that have been learned, with some participants laying out and painting their own designs.
“The only bad thing was having to stop” — Graphic Designer, UK
If that’s left you inspired to take part then check out Mike's workshops page for all forthcoming dates and locations.
Event Listings
 Better Letters