How to Prepare MDO Plywood for Sign Painting
Step-by-step guide to tools, materials and techniques to prepare MDO Plywood for exterior signs.

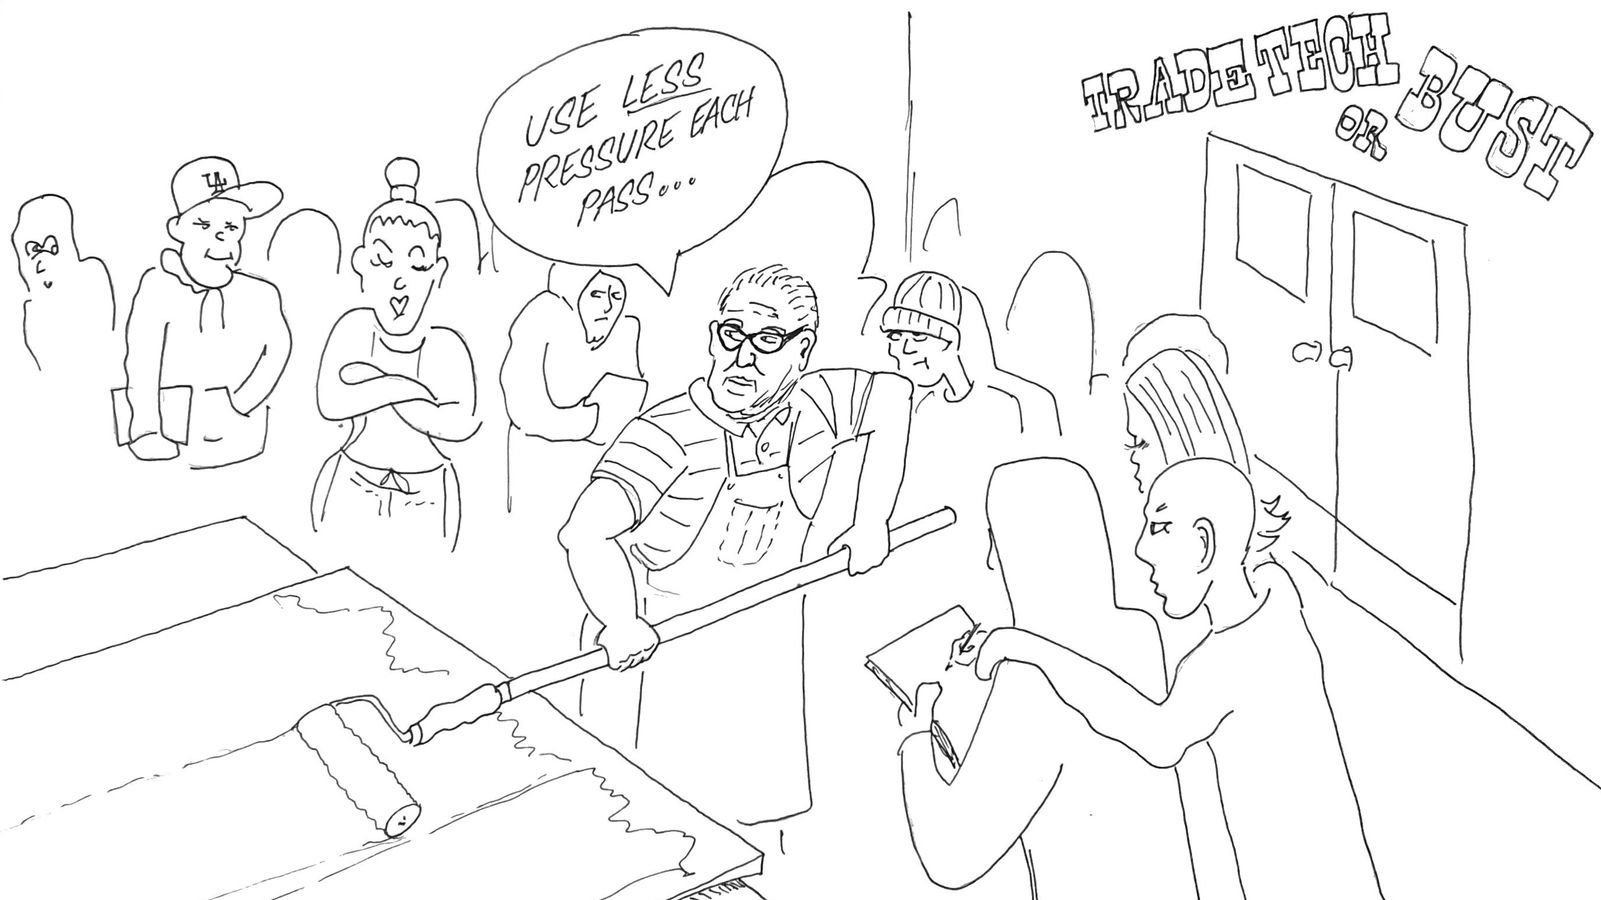
Hand-painted signs need a solid foundation if they're to go the distance for your customers. The selection and preparation of the board is the first step in this process. Here, Agustin at Magic 8 Ball Signs shares the lesson he learned from Doc Guthrie while studying on the Sign Graphics program at LA Trade Tech.
How to Prepare MDO Plywood Sign Blank—Doc Guthrie's Method
By Agustin McCord
Intended for sign tradespeople, this guide is also useful for illustrating to clients what their sign is made of, as well as how much time (and money!) goes into preparing a quality product. Additionally, a travelling tradesperson can share this information with a client who might wish to prepare their own sign blank for the purpose of cost or time efficiency.
What is MDO?
MDO stands for medium density overlay—it’s a type of plywood used for exterior signs, and is more than sufficient for interior signs as well. ‘Medium density’ means the plies are compressed tighter and adhered with stronger glues than your average cheap sheet of plywood, while ‘overlay’ refers to the smooth sheet of resin-impregnated paper that is glued to the face of the plywood.

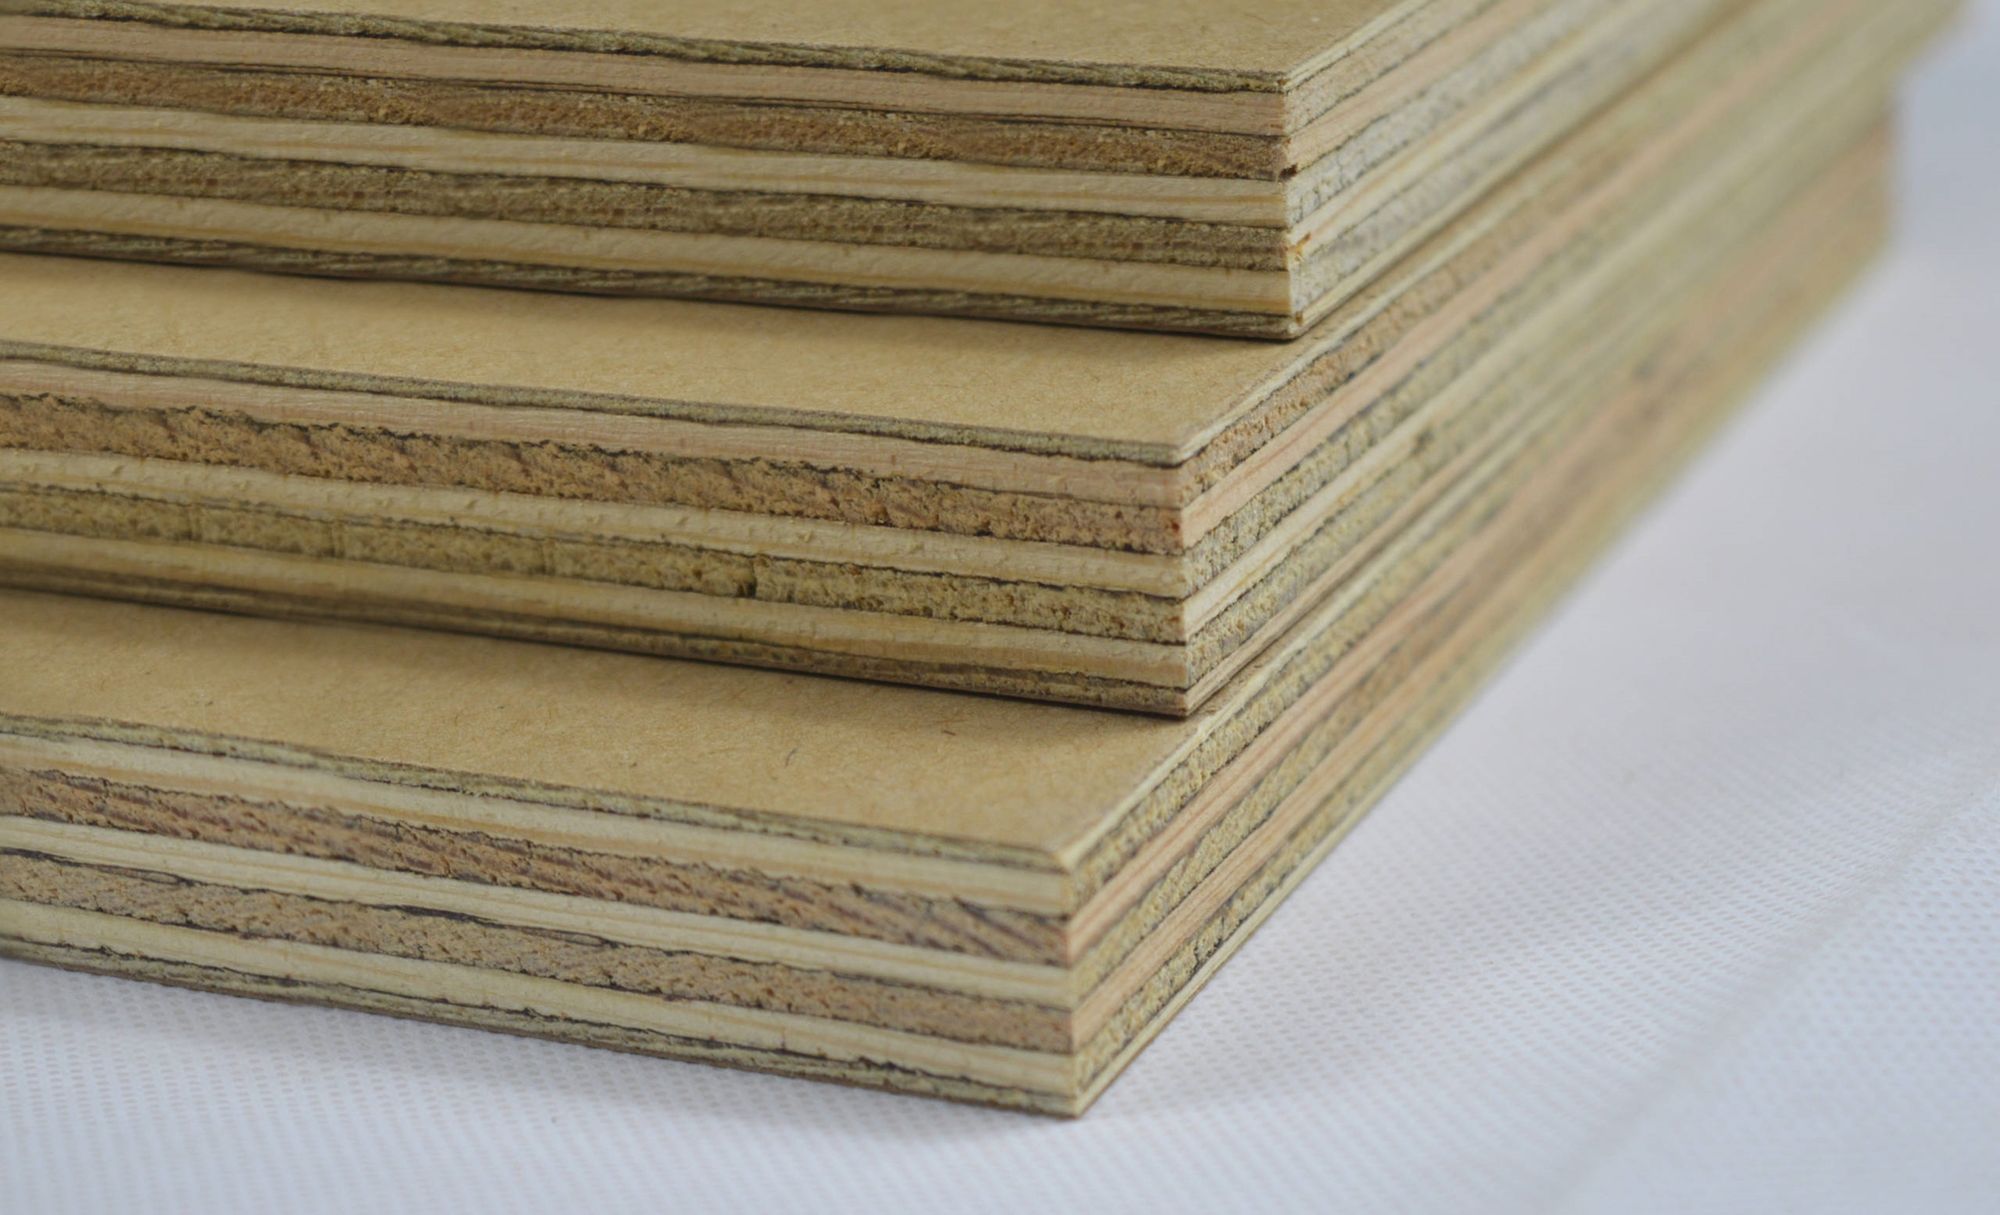
MDO can be purchased single-sided (paper only on one side) or double-sided. Common thickness options are ½ and ¾ in (1.3 and 1.9 cm). I use ½ in (1.3 cm) for signs intended for mounting on a wall, and ¾ in (1.9 cm) for signs that stand alone, eg A-Frames or sandwich boards.
Specialist lumber yards carry MDO, but general hardware stores like Home Depot and Lowe's do not.
How is MDO different from MDF?
MDF stands for medium density fibreboard; it’s made from wood fibres and resin bonded together and compressed into sheets. MDO, on the other hand, has a plywood core with paper surfaces that contain more resin, making it suitable for outdoors. It is also lighter and stronger than MDF, but more expensive.
Preparing a Sign Blank for Lettering
Here are the steps—as taught by Doc Guthrie at Los Angeles Trade Tech—to turn MDO into a sign blank ready for painting and lettering. The whole process including dry time takes about three days.

Step 1: Cut and Sand the Edges of the Plywood
Straight lines can be cut by running a circular saw along a metal ruler clamped in place, as in the example photo. Put a scrap of wood between the clamp and your sign face to disperse the pressure and stop the clamp denting the face.

If you don’t have access to a saw, you can ask your lumber yard to cut your blank to size—most will do straight cuts for a small charge.
After cutting, sand the edges of your blank with 100 grit (or lower) sandpaper.
Step 2: Spackle the Edges
Next, we spackle the exposed edges of the panel to seal them and keep moisture out. We use Crawford’s vinyl spackling paste in California. In drier climates, sandable silicone caulk works better.

Apply using a 1 in (2.5 cm) spackling knife (pictured) and smooth it with your fingertip. Once all the edges are coated, let it dry for 24 hours.
Step 3: Sand and Dust the Spackled Edge
After 24 hours, your spackled edges should be dry. Sand them lightly with 150–200 grit sandpaper to ensure they are smooth.
Step 4: Prime Both Sides of the Board
Dunn-Edwards EVERSHIELD® water-based primer is the best primer to use. Oil-based primer is an option as well—see my original notes from Doc’s class.
I put the primer in a paper cup, pour it on the board while it's laid flat, and then distribute it with a 4 in (10 cm) short nap cotton roller.


I always start with the back of the board. Roll parallel stripes the length of the board, then roll perpendicular to that, and then roll diagonally from both directions, using decreasing pressure each time you change direction. This will give you the smoothest primed finish.
Using the edges to handle the board, flip it immediately onto paint cones and run the roller along the edges, making sure they are completely coated in primer as well. Then repeat the same four-direction process on the front of the board.
Each side needs 24 hours to dry, ideally in a protected space that minimises the chance of dust and debris while drying.
Bonus Tip: Cleaning the Roller Pad
Roller pads can be reused! To clean it off and save excess primer, use a butter knife to ‘cut the cob’. The same knife can also be used to scrape primer from the cup back into the can.


Finally, rinse the pad in cool water until the water runs clear, then spin it on a brush and roller spinner in a bucket to dry it out. Now you have a clean roller you can use several more times
Step 5: The Enamel Background
For a single-sided sign, you only need to coat one side with enamel. I’m using Ronan Bulletin colour, but any other brand of enamel will work fine for this step.

I start by using blue painters' tape to remove the excess cotton fuzz from a Shur-Line 3 in (7.6 cm) cotton roller, Then I use my butter knife to fill my paint cup with the background enamel colour of my choosing. If you’re making a custom colour, don’t forget to mix enough to allow for touching up any spots later on.
Now that my paint and my roller are ready, I pour the enamel in a zigzag pattern across the front of the sign and work the roller across it, one direction at a time. I pause once between directions to also coat the edge, then do the final direction, removing excess build-up around the edge and leaving a very smooth enamel finish.


As before, this needs to be left to dry in a protected space for 24 hours.
All Done!
Following these steps will give you a professionally coated and sealed sign blank that will last many years outdoors. Given the drying times involved, it can be worth priming a batch of these for common sign dimensions, and keeping them on hand in the shop.
Written by Agustin McCord / @magic8ballsigns
More Learning
